Ever wonder how some people make cake pops look so amazing, like straight out of a bakery, while yours end up… well, a little less perfect?
Maybe they slide off the stick, look lumpy, or just don’t have that “wow” factor. You’re not alone! Making cake pops can be tricky, but don’t worry! Today, we’re diving into Birthday Cake Pops Fun: Top 5 Party Tricks! to take your cake pops from “meh” to magnificent!
This post is all about simple techniques that will transform your cake pops into the stars of any birthday bash (or just a fun afternoon treat!).
What Makes These Cake Pops Special?
These aren’t just your average cake pops. We’re gonna learn how to make them look and taste amazing! This recipe is especially awesome because:
- It’s Super Fun: Get creative with colors, sprinkles, and designs!
- It’s Perfect for Parties: The ultimate make-ahead treat that everyone loves.
- It’s Easier Than You Think: With our party tricks, you’ll be a pro in no time!
Time Requirement: About 1 hour (plus chilling time)
Difficulty Level: Easy Peasy (with these tricks!)
Essential Ingredients: What You’ll Need

Let’s gather our supplies. These ingredients are the building blocks of cake pop greatness!
- Cake: Use your favorite kind! Boxed cake mix works great (vanilla, chocolate, strawberry – whatever you like!), or you can use leftover homemade cake. Make sure it’s completely cooled.
- Why it’s important: The cake is the heart of the cake pop! It needs to be moist and flavorful.
- Substitution: Gluten-free cake mix works perfectly for those with dietary needs.
- Frosting: Again, choose your favorite! Canned frosting is super convenient, or you can make your own buttercream.
- Why it’s important: The frosting binds the cake together and adds extra sweetness and moisture.
- Variation: Try different flavors of frosting, cream cheese, chocolate, peanut butter. Yum!
- Candy Melts or Chocolate: These are for coating the cake pops and making them look super professional.
- Why it’s important: The candy melts give the cake pops a smooth, shiny finish and seal everything together.
- Substitution: Use chocolate chips! Melt them with a little bit of shortening or coconut oil to make them smooth and dippable.
- Lollipop Sticks: These are essential for holding the cake pops.
- Why they’re important: Pretty self-explanatory!
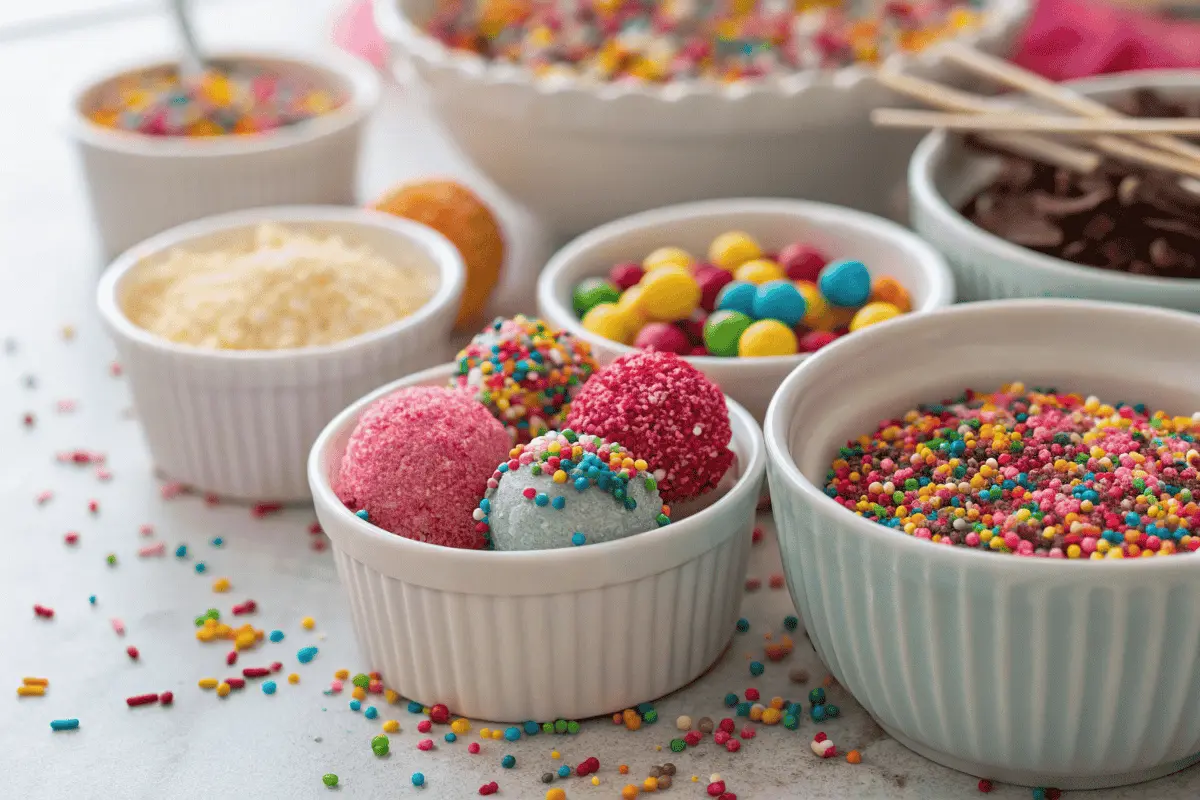
- Sprinkles, Decorations, and other toppings: This is where you get to be creative! Sprinkles, edible glitter, colored sugar, mini chocolate chips, anything goes!
- Why they’re important: They add fun, color, and texture to your cake pops, making them extra special.
Step-by-Step Instructions: Cake Pop Magic!

Okay, let’s get started on the real magic!
- Bake the Cake (or Not!): If you’re using a boxed mix, bake according to the package directions. Let the cake cool completely. If you’re using leftover cake, even better!
- Crumble the Cake: Once the cake is cool, crumble it into a large bowl. You can use your hands or a fork to break it up into small pieces.
- Add Frosting: Add frosting, a little at a time, to the crumbled cake. Mix it together with your hands until the mixture is moist and holds its shape when you squeeze it. You shouldn’t need the whole can.
- Roll into Balls: Roll the cake mixture into small, even balls, about 1-inch in diameter. Place them on a baking sheet lined with parchment paper or wax paper.
- Tip: Use a cookie scoop for perfectly uniform cake pops!
- Chill Time: Place the baking sheet in the refrigerator or freezer for at least 30 minutes. This will help the cake balls firm up and make them easier to dip.
- Why it’s important: Chilling prevents the cake pops from falling apart when you insert the sticks and dip them in the candy melts.
Assembly: The Fun Part!
Now for the best part, turning those cake balls into gorgeous cake pops!
- Melt the Coating: Melt the candy melts or chocolate in a microwave-safe bowl in 30-second intervals, stirring in between, until smooth and completely melted.
- Tip:* Add a teaspoon of shortening or coconut oil to the candy Melts to make it smoother when melted.
- Dip the Sticks: Dip the tip of a lollipop stick into the melted coating and then insert it halfway into a chilled cake ball. This helps the stick adhere to the cake pop.
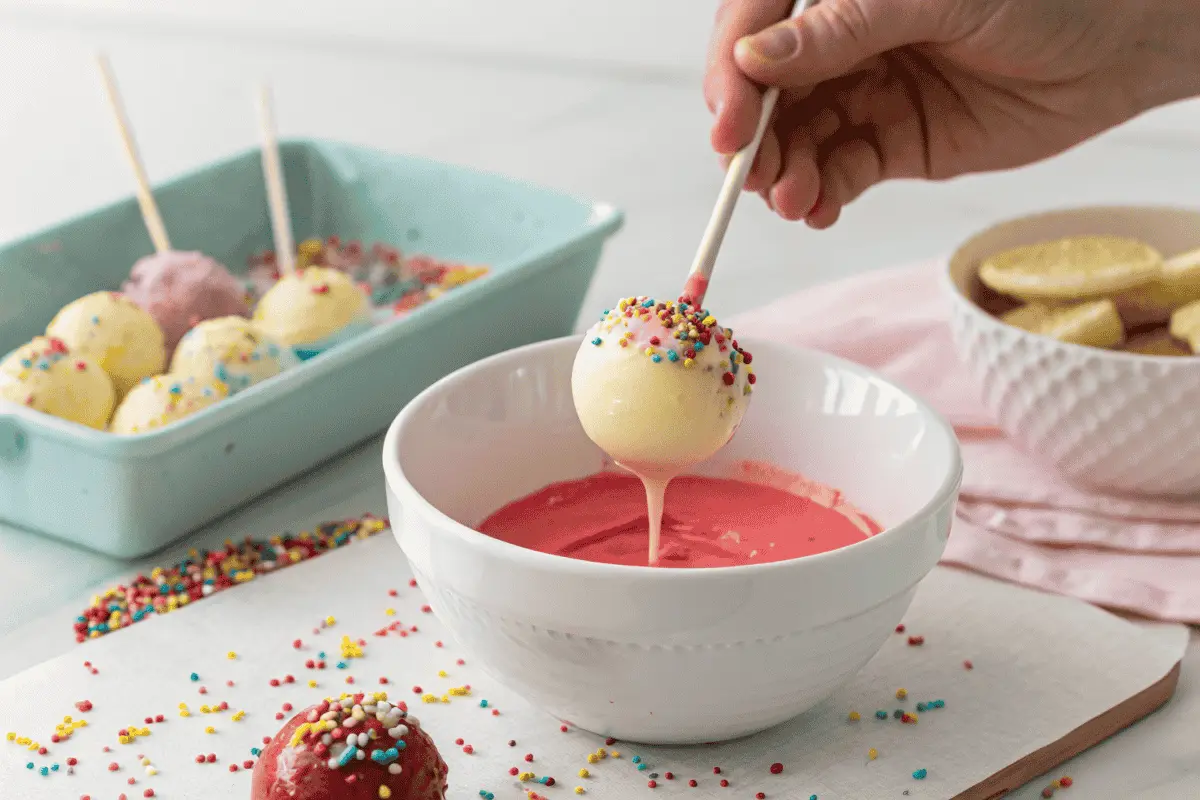
- Dip, Dip, Dip!: Hold the cake pop upside down and dip it into the melted coating, making sure to completely cover it. Gently tap off any excess coating.
- Trick #1: The Swirl: Instead of just tapping, gently swirl the cake pop in the melted coating to create a smooth, even layer.
- Decorate Immediately: While the coating is still wet, add sprinkles, edible glitter, or any other decorations you like.
- Trick #2: Sprinkle Magic: Pour your sprinkles into a small bowl and gently roll the cake pop in the bowl to coat it evenly.
- Let Them Dry: Place the decorated cake pops on a cake pop stand or insert the sticks into a styrofoam block to dry completely.
- Trick #3: The Cooling Angle: Lean the cake pops slightly to one side as they dry. This prevents a “foot” of coating from forming at the base.
Party Tricks for Extra-Special Cake Pops
Okay, time for those secret party tricks that will make your cake pops stand out from the crowd!
- *Trick #4: Marble Effect: Drizzle a contrasting color of melted coating over the dipped cake pop before it sets. It creates a beautiful marbleized look.
- *Trick #5: Edible Paint: Use edible markers or food coloring mixed with a little bit of vodka (it evaporates quickly!) to paint designs on your cake pops.
Storage and Make-Ahead Tips
Cake pops are great for making ahead, but you want to keep them fresh!
- Storage: Store the cake pops in an airtight container at room temperature for up to 3 days, or in the refrigerator for up to a week.
- Tip: Don’t store them in the freezer, as the coating can crack.
- Make-Ahead: You can make the cake balls ahead of time and store them in the freezer for up to a month. Just thaw them in the refrigerator before dipping.
Recipe Variations: Get Creative!
Want to mix things up? Here are some fun ideas:
- Different Cake Flavors: Try lemon cake, red velvet cake, or spice cake.
- Different Frosting Flavors: Chocolate frosting with chocolate cake, peanut butter frosting with banana cake.
- Add Mix-Ins: Stir mini chocolate chips, chopped nuts, or sprinkles into the cake batter.
- Drizzle with Caramel or Chocolate Sauce: For an extra touch of sweetness.
- Use Different Coatings: Experiment with different colors and flavors of candy melts or chocolate.
Time to Celebrate with Cake Pops!
See? Making amazing cake pops is totally achievable! With these Birthday Cake Pops Fun: Top 5 Party Tricks!, you’ll be creating show-stopping treats that everyone will love. Don’t be afraid to experiment with different flavors and designs. The most important thing is to have fun and let your creativity shine! Happy baking!
Craving something similar? Our Delightful Kefir Sheet Chocolate Cake Recipe is another must-try!
FAQs: Your Cake Pop Questions Answered!
- Why are my cake pops falling off the sticks?
- Make sure the cake balls are chilled, and dip the stick in melted coating before inserting it.
- Why is my coating lumpy?
- Be careful not to overheat the candy melts or chocolate. Melt in 30-second intervals, stirring in between.
- Can I use oil-based food coloring to color candy melts?
- No, oil-based food coloring will seize up the candy melts. Use gel food coloring or candy coloring.
- Can I make cake pops without a bread maker?
- This recipe doesn’t require a bread maker
- How can I make cake pops vegan?
- Use a vegan cake mix, vegan frosting, and dairy-free chocolate or candy melts.
- Can I make cake pops ahead of time and freeze them?
- I don’t recommend freezing after decorating, as the coating can crack. However, you can freeze the cake balls before dipping.
- Can I make cake pops without sticks?
- Yes, just roll them into small balls and serve them as cake bites.
- Are cake pops healthy?
- Cake pops are a treat, so they should be enjoyed in moderation! While not a health food, they can be part of a balanced diet.
- How do I stop it from melting?
- Make sure the cake is cold
- Make sure you make your cake pop stand
Happy cake popping! I hope you have tremendous Birthday Cake Pops Fun!

