
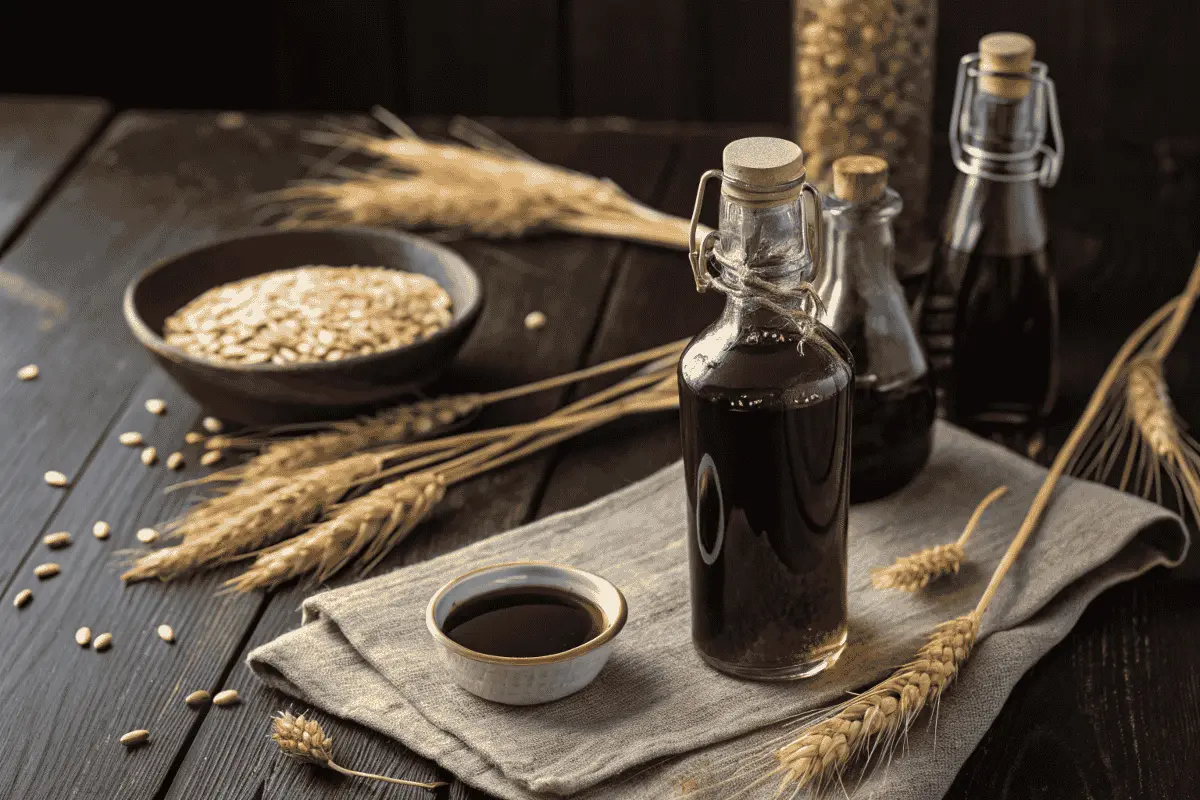
Have you ever looked at a bottle of malt vinegar and thought, “Wow, I could never make that myself?” It sounds complicated, right? Like something you need a fancy lab coat and bubbling beakers to create? Well, get ready to toss that idea out the window! Because today, I’m going to show you just how easy it is to make your own Malt Vinegar Recipe: 3 Secrets for Homemade!
And trust me, once you taste the difference between store-bought and homemade, you’ll never go back. Let’s get started!
Table of Contents
Why You’ll LOVE This Homemade Malt Vinegar
So, why bother making your own malt vinegar? Here’s the scoop:
- Better Flavor: Homemade malt vinegar has a richer, more complex flavor than the stuff you buy in the store.
- It’s Simple! It’s not as hard as you think. You can produce this in a few easy steps!
- It’s rewarding: The satisfaction of fermenting your own ingredients is fantastic.
- Customizable: You can tweak the recipe to suit your own taste preferences.
- Natural: No weird additives or preservatives!
- Difficulty Level: Easy-peasy!
Essential Ingredients: What You’ll Need
Let’s break down the ingredients for our malt vinegar recipe and why each one is important:
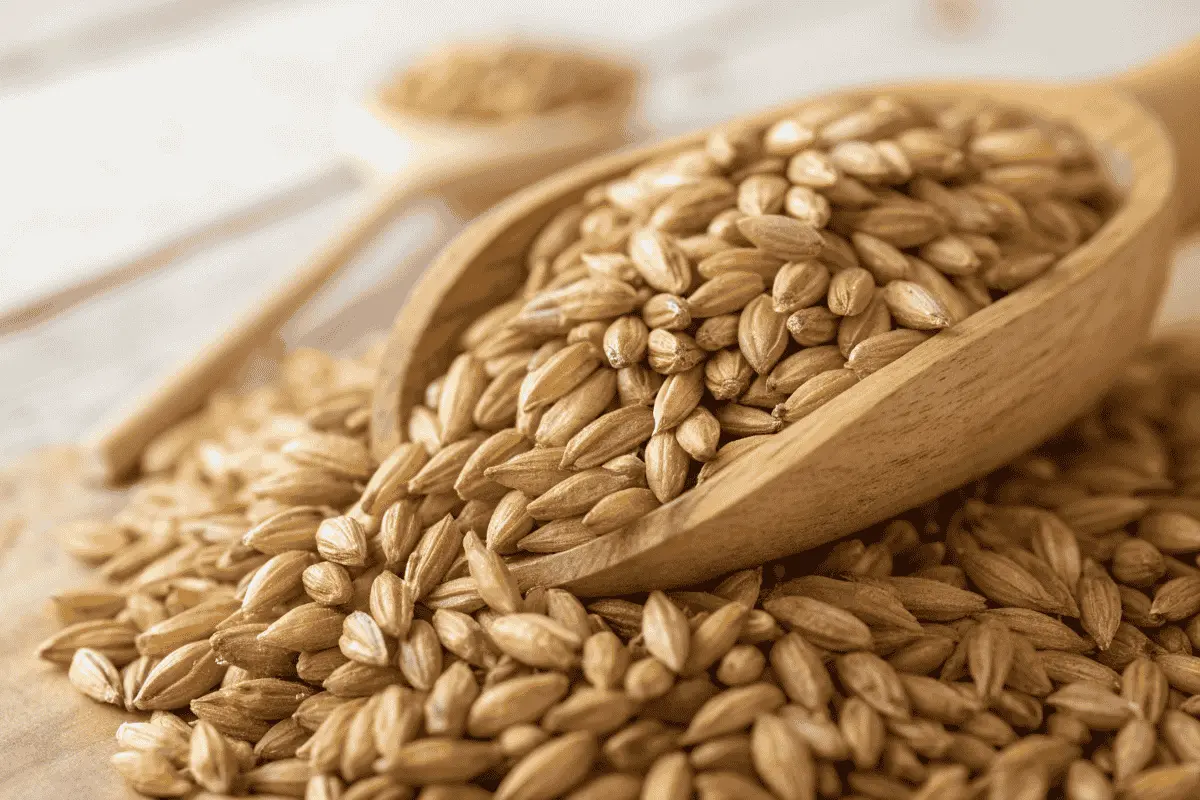
- Malted Barley: This is the key ingredient! Malted barley gives malt vinegar its unique flavor and color. You can find it at home brewing supply stores or online.
- Substitution Idea: If you can’t find malted barley, you could try using barley malt extract, but the flavor won’t be quite the same. It is also worth trying to make beer before turning it into vinegar.
- Water: Use filtered water for the best results.
- Active Dry Yeast: This helps kickstart the fermentation process.
- Vinegar Starter (Optional): This isn’t essential, but it helps to get the fermentation going and can prevent mold growth. You can use unpasteurized malt vinegar from the store or a “mother of vinegar” from another vinegar batch.
- Note: You can buy a mother of vinegar which is a cellulose raft of symbiotic bacteria and wild yeasts.
- Time: Yes, time is an ingredient! Vinegar-making takes patience.
3 Secrets to Homemade Malt Vinegar Perfection!
Alright, let’s dive into the three secrets to making amazing homemade malt vinegar:
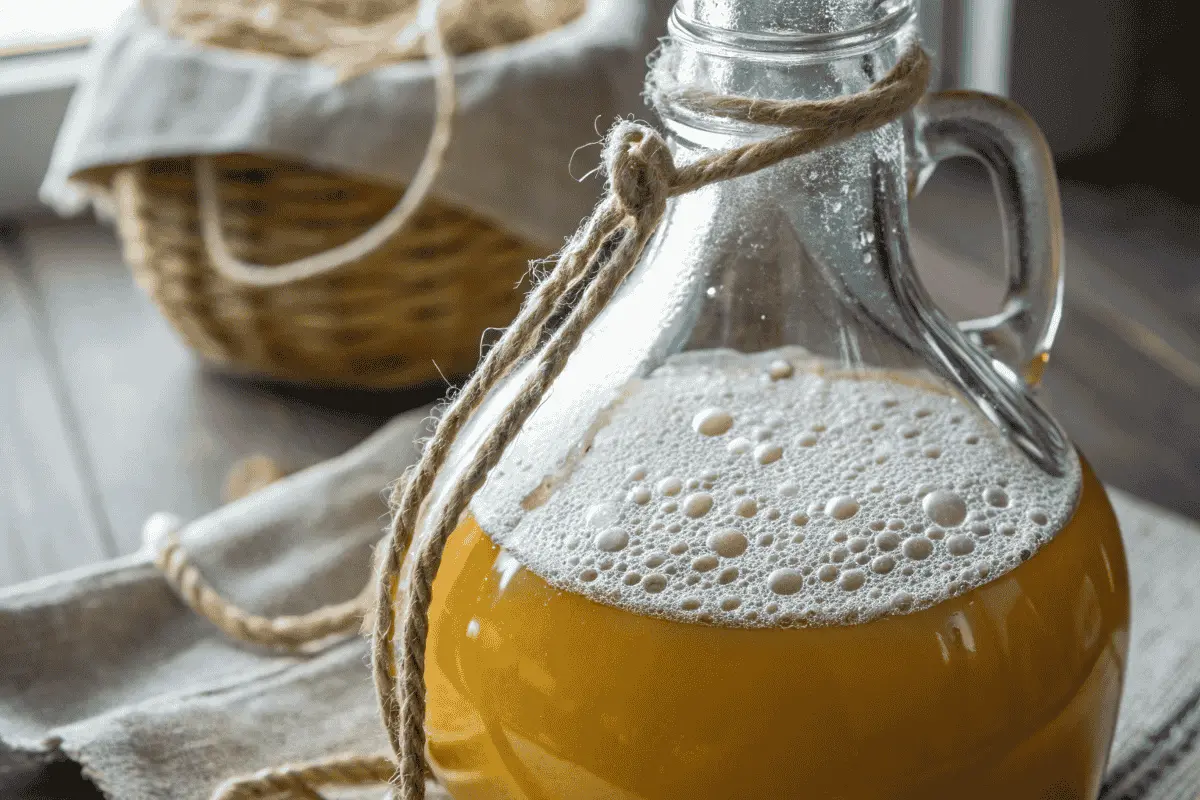
Secret #1: Brewing the Malt “Beer”
This is the first crucial step. You’re essentially making a weak malt “beer” that will then turn into vinegar.
- Malt Extraction: In a large pot, mix your ground or crushed malted barley with water. Follow a ratio of roughly 1 pound malt to 1 gallon of water. Heat this mixture to around 150-160°F (65-71°C) and hold it at this consistent temperature for about an hour. This process, known as mashing, converts the starches in the barley into sugars.
- Tip: Stir frequently ensure an equal conversion. You’ll notice the liquid getting less cloudy.
- Sparging and Collection: After an hour, separate the sugary liquid (wort) from the spent grains. One common process is known as “sparging,” where you rinse the grains with hot water to extract every bit of sugar. Accumulate this liquid.
- Boiling: Put this collected sweet liquid into a kettle and boil it for about an hour to sanitize and concentrate the flavors.
- Cooling and Yeast Pitching: Now, cool your pot rapidly to about 70°F (21°C). Once cooled, put yeast in, stirring thoroughly.
- Tip: Ensure to cool the liquid before adding it! It can often “kill” the yeast.
Secret #2: The Fermentation Process (Patience is Key!)
This is where the magic happens! The yeast turns the sugars into alcohol, which then turns into acetic acid (vinegar).
- Transfer to a Fermentation Vessel: Pour this liquid into a sanitized jug or fermentation vessel. If you add a clean airlock, this helps prevent unwanted bacteria and contamination.
- Initial Fermentation: Let the liquid ferment for about 2-3 weeks. You should start to see it settle as it ages.
- Why it’s important: This stage turns your saccharine liquid into liquid, the base ingredient for acetic acid and vinegar.
- Check the fermentation: You should see bubbles coming out of the airlock regularly. If not, try agitating the container.
- Best Tip Keep the container out of direct sunlight, since this can affect the fermentation consistency.
Secret #3: The Acetification Process (Turning Alcohol to Vinegar!)
This is the final step, where the alcohol turns into vinegar.
- Add a Vinegar Starter: Pour you prepared fermented liquid into a big open vessel. Combine with some raw, unpasteurized vinegar or a “mother” to kickstart the acetification.
- Tip: It’s vital that your vessel is clean to prevent bacterial contamination that isn’t acetic acid!
- Wait Patiently: Put a breathable cloth over container, and leave it in a ventilated room. This can take many weeks to several months.
- Testing: After a month or so, taste test to check your result. Use strips of PH for optimal results!
- Tip: For optimal results, avoid touching the surface of the fermentation liquid as this can disrupt it.
Bringing It All Together: Bottling and Enjoying Your Vinegar
Once your vinegar has reached the desired acidity (test to ensure that it is within the appropriate range or palatable!), it’s time to bottle it.
- Filtration: You can filter your vinegar through a coffee filter to remove any sediment.
- Pasteurization (Optional): If you want to stop the fermentation process, you can pasteurize your vinegar by heating it to 140°F (60°C) for 10 minutes. This will kill any remaining bacteria and yeast.
- Tip: Keep under a consistent temperature for the duration of the process for the best results!
- Bottling: Pour your vinegar into sterilized glass bottles.
- Labeling: Label your bottles with the date and type of vinegar.
Storage and Make-Ahead Tips
- Storage: Store your malt vinegar in a cool, dark place. It will keep for years!
- Make-Ahead: The fermentation process takes time, so there’s no way to speed that up. However, you can prepare your equipment and ingredients in advance.
Recipe Variations: Get Creative!
Want to experiment? Here are some ideas:
- Infused Vinegars: Add herbs, spices to the vinegar during the fermentation process.
- Fruit Vinegars: Add fruit to the malt beer to create flavored vinegars.
- Spiced Vinegar: Add peppercorns, chili flakes, or other spices for a spicy kick.
Ready to Become a Vinegar Alchemist?
Creating your own malt vinegar recipe is an adventure. It’s about more than just following steps; experiment, taste, and adjust to your tastes. You might come up with some excellent vinegars! Now, let’s start and enjoy.
Don’t forget to explore our best Chow Chow Recipe for more ideas.
FAQs: Your Vinegar Questions Answered!
- Can I use different types of barley?
- Yes, experiment with different types of barley for unique flavors.
- How long does it take to make malt vinegar?
- The entire process can take several weeks to months, depending on the temperature and conditions.
- How do I know if my vinegar is safe to eat?
- The vinegar acidity helps prevents any harmful or deadly bacteria to grow
- Why is my vinegar cloudy?
- Cloudiness is normal and is caused by the presence of bacteria and yeast. Filtration can clarify it if desired.
- What can I use malt vinegar for?
- It’s great for fish and chips, salad dressings, marinades, and pickling.
- Can this process be scaled up?
- Yes, but you’ll have to adjust the vessel size for larger volumes.
- What’s the shelf life of homemade vinegar?
- If stored properly, it can last for years. Flavor may change over time.
- Is a vinegar ‘mother’ essential?
- No, but it accelerates the acetification and creates more consistency.
- Can I make other types of vinegar with this method?
- Yes, using different substrates and starters makes it possible.
- How do I troubleshoot a failed batch?
- Check for mold, proper pH levels. Consider temperature and aeration. If there is visible dangerous mold, you may have to repeat.
I hope you found this helpful! Good luck making your malt vinegar.